

How To Install Vinyl Tile Flooring In A Bathroom
Are you lot looking for a quick, inexpensive way to renovate your floors? Vinyl tiles might but be a perfect choice. Bachelor in diverse patterns and sizes, these tiles accept a low and soft profile, are water-resistant, practise not break hands, and are easy to repair. Vinyl can spruce upward any room from the kitchen to the bathroom and fifty-fifty the laundry area.
In this guide, we show yous how to install vinyl tile flooring. With basic skills and the right tools, yous can complete this project in one or two days, depending on the size of the room. There are two types of vinyl tiles—the peel and stick cocky-agglutinative tiles and the ones that are installed using adhesive. Here's we will focus on the vinyl tiles that are installed using adhesive.
Tools and Supplies You lot Volition Need
- Vinyl tiles
- Vinyl adhesive
- Belt sander
- Plywood planks
- Utility knife
- Putty knife
- Prying bar
- Floor roller
- Record mensurate
- Chalk line
- Dusk mask
- Knee pads
- Tiling sponge
- Notched trowel
Step-by-Step Guide To Install Vinyl Tile Flooring
Follow these steps to lay new vinyl tile flooring.
Pace 1: Prepare the surface
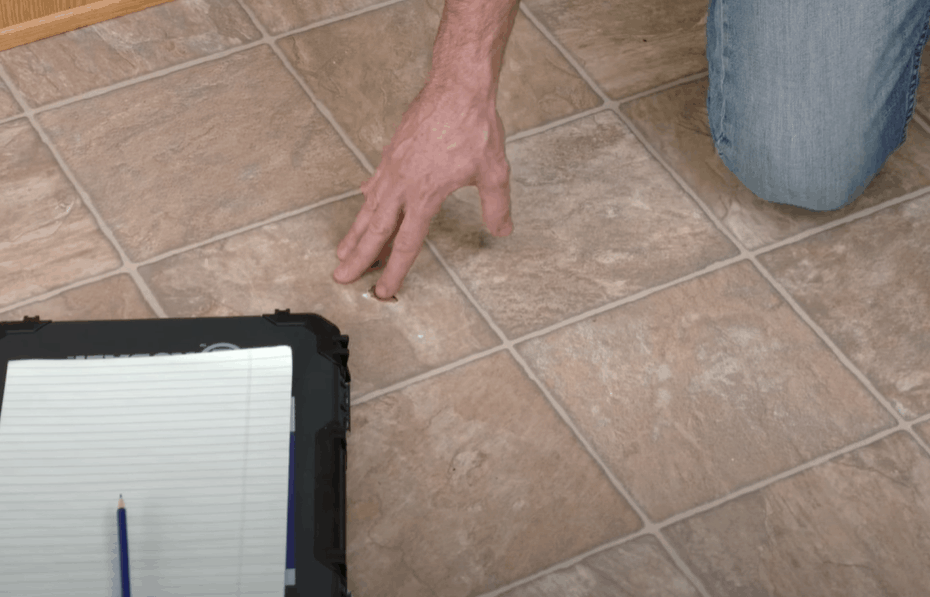
You can install vinyl tiles on concrete, ceramic, and even existing vinyl flooring. However, the surface must be make clean and well-leveled for the tiles to adhere firmly to the adhesive. If you have a ceramic floor, it is best to remove these tiles before laying the vinyl.
Repair cracks on a physical floor with concrete filler. Using a carpenter's leveler, check for any high or low spots on the floor. Grind downwards loftier spots using a belt sander. You might have to use a self-leveling physical chemical compound to right a especially sloppy floor.
If you have vinyl flooring, level the existing floor before laying new tiles. Otherwise, the new tiles volition somewhen take on the rough texture of the onetime flooring. Embossing leveler is an excellent option for straightening whatever roughness and dents on the quondam vinyl floor.
You might desire to remove the entire floor if it is too sometime or damaged for an embossing leveler. A more attainable alternative is to build a plywood underlayment on top of the old floor. The underlayment volition give you lot a prissy, flat, and stable surface for laying your tiles. You can watch this video on how to build a plywood subfloor.
Stride 2: Remove baseboard and cut doorjambs
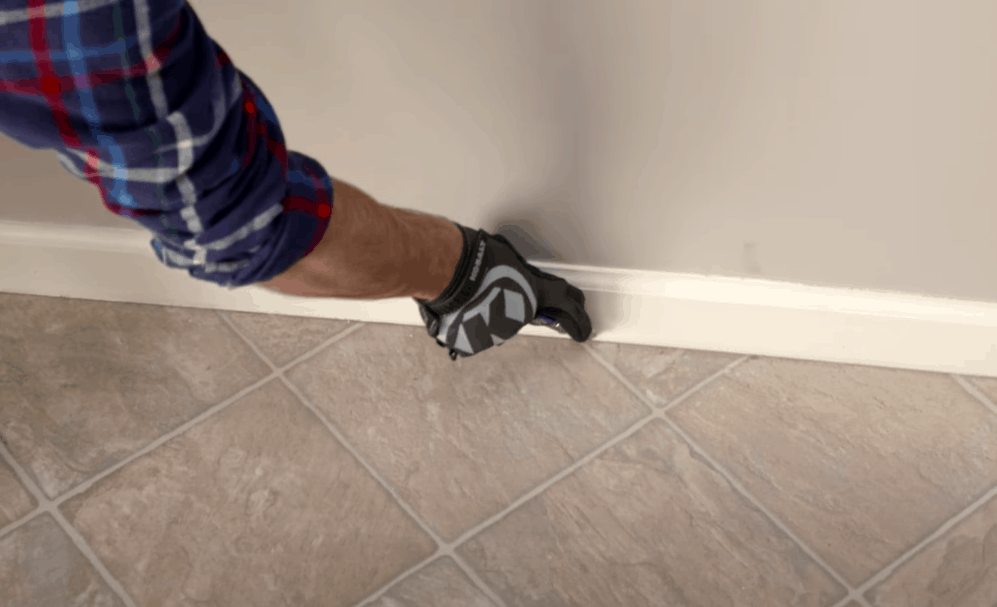
For a clean look, it is best to remove the baseboard and shoe trim around the room. Simple utilize a putty pocketknife to cut the paint betwixt the baseboard and walls, so pry out the trim using a pry bar. Remove the baseboard pieces carefully if you program to reuse them.
Installing tiles under doorjambs can be challenging, and you lot might not get the clean, finished expect y'all are subsequently. For better results, cut the door trim so you tin can easily push the vinyl tiles under in that location.
Use a piece of tile and underlayment to determine how much of the trim you lot will need to cut out for the flooring to fit snuggly under the door. Once y'all have this measurement, utilise an appropriate saw to cut out the correct portion of the trim.
Step 3: Mark your reference lines
Planning your layout ensures that you install the vinyl tiles in a visually appealing and structurally stable pattern. With a layout, you can move faster because you already know how to arrange your tiles.
To become started, you will need two reference lines to guide yous in laying out the tiles. You can use a laser leveler or a simple, inexpensive chalk line to create the reference lines.
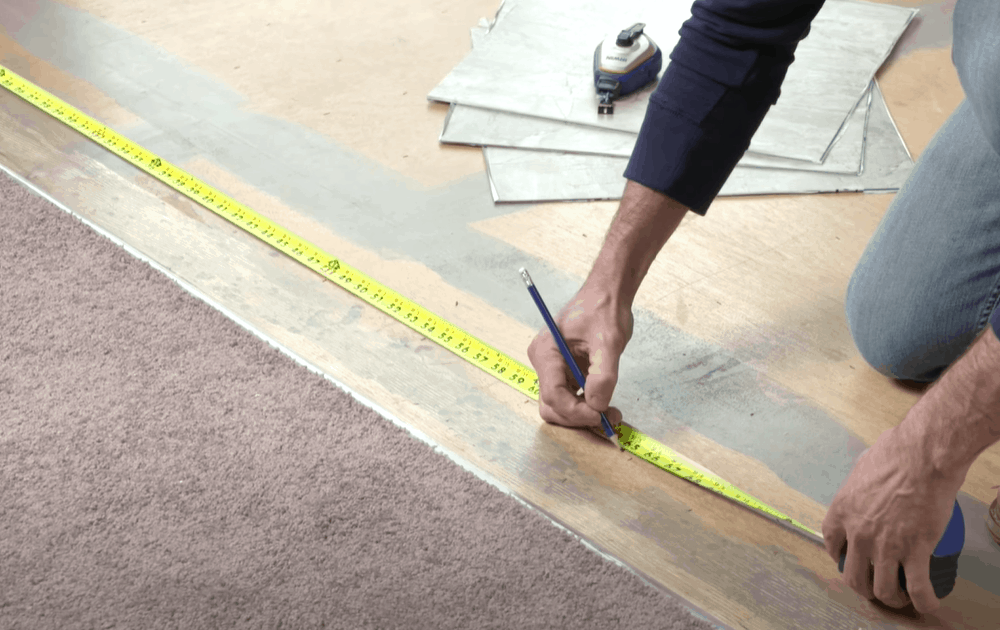
Using a tape measure, measure the length of 1 of the walls in the room, then find the heart indicate of the wall and drive a smash at this mark.
Measure the opposite wall and mark the center. And so, hook ane end of the chalk line to the nail, pull the line stout to the middle marking of the opposite wall, and and then snap the line to create a line betwixt these ii walls.
Snap another chalk line perpendicular to the first line. The two chalk lines volition run across at the centre and will split up the room into 4 parts.
Pro Tip: Before applying adhesive, do a trial-fit by laying the tiles along the directly line and then beyond the perpendicular line to see how your tiles align and how they might demand to be cut before doing a permanent install.
Step iv: Utilise the vinyl floor agglutinative
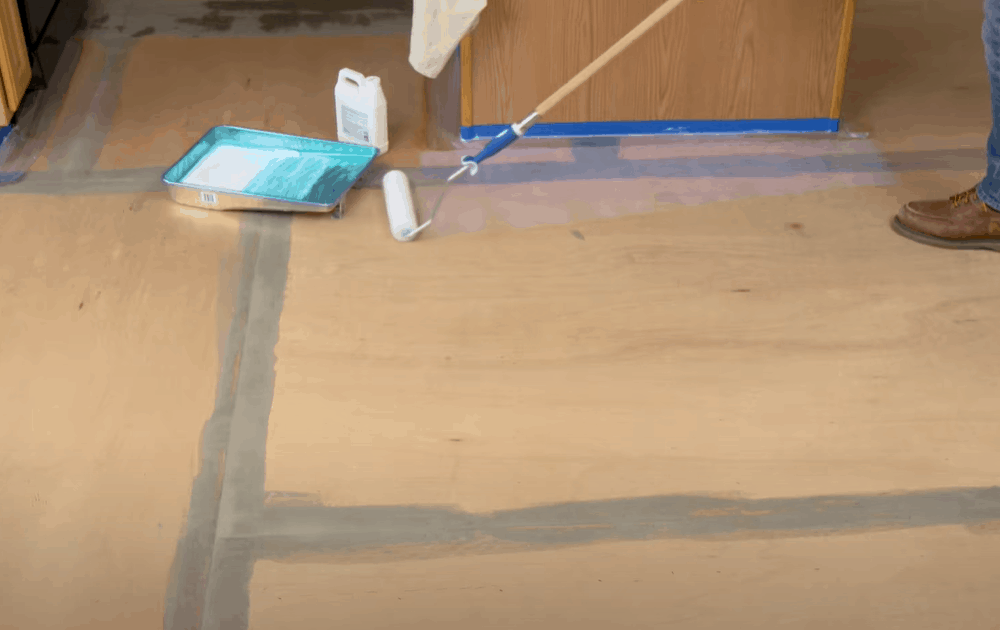
Use a notched trowel to spread the agglutinative evenly across the surface of the floor. For easier awarding, commencement at i corner of the room and work in sections. Utilise the notched side of the trowel to comb ridges in the agglutinative. Ideally, you should see the subfloor underneath in the spaces betwixt the ridges.
Expect for one section of the floor to dry up before laying the tiles. Installing tiles on moisture adhesive will crusade air bubbles that can weaken the floor. Each product is dissimilar, then you lot will need to find the platonic drying time for your vinyl adhesive. Factors such as humidity and temperature will impact drying times.
To check if the adhesive has stale, press your finger in it. The floor underneath will feel sticky, but the adhesive should not stick to your finger. Dry vinyl agglutinative will likewise become lighter in color.
Pro Tip: Bank check the instructions on the packaging of vinyl adhesive for the appropriate trowel notch size to utilise.
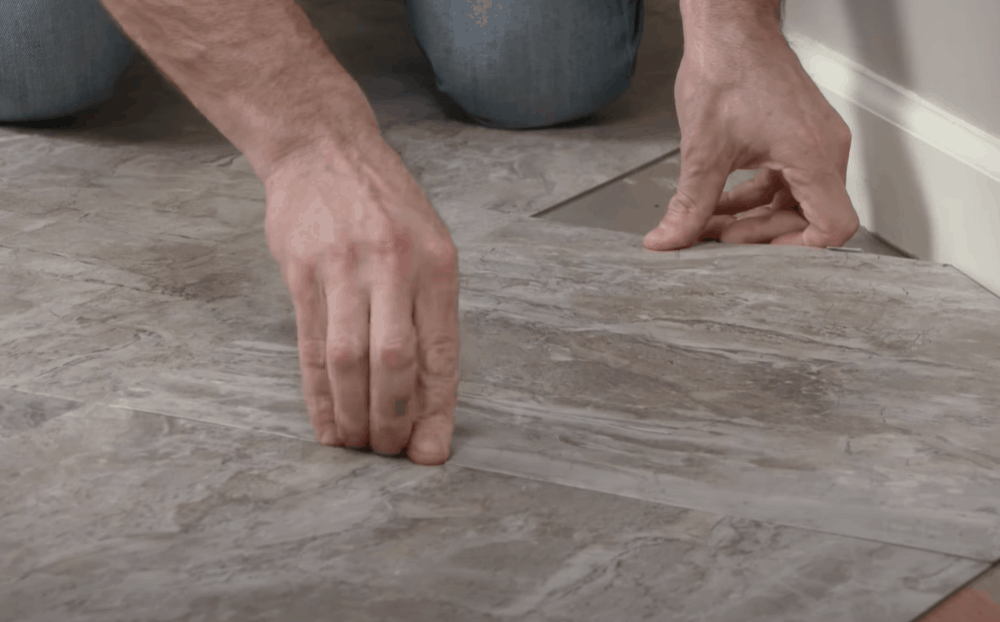
Step 5: Lay the vinyl tiles
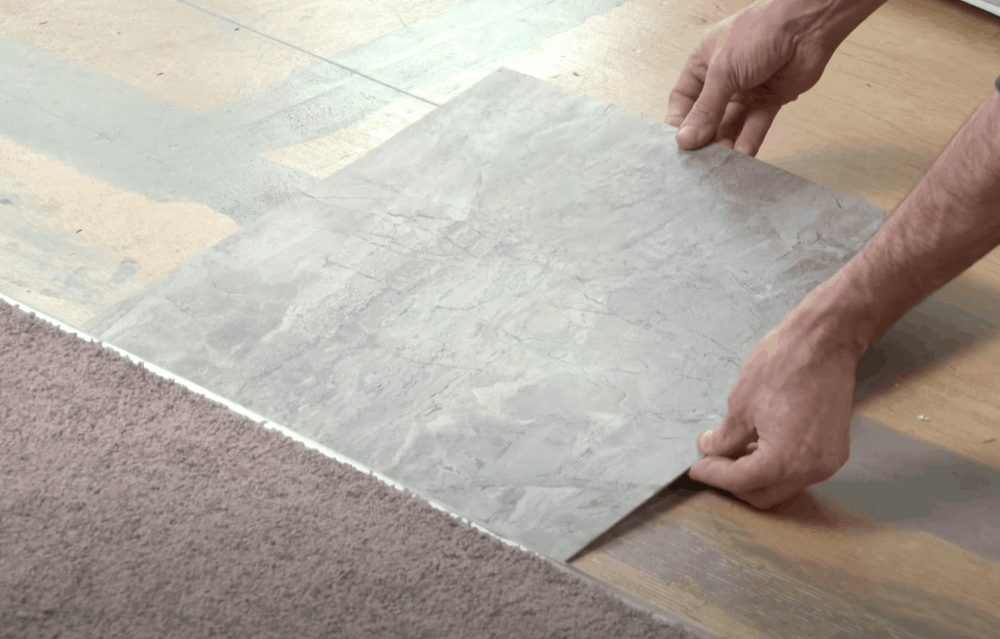
The most efficient way to lay the tiles is to start from the middle of the room where the ii chalk lines intersect and work your way outward to the room's perimeter. Use the chalk lines as a guide to layout the tiles in a direct line. The way yous install these first tiles will set the pace for the residual of the installation. Cheque out this video on all-time practices for laying tiles.
Place each piece of tiles apartment and abutting the previous tile. Avoid sliding the tiles into identify as this only drags the adhesive, making for a messy installation.
For tiles that need to go around obstacles such as pipes or corners in the room, trace the pattern using a piece of cardboard, and then transfer the design to the tile using a profile gauge. You can then use a utility knife to cut out the pattern.
Step vi: Press downwards the tiles
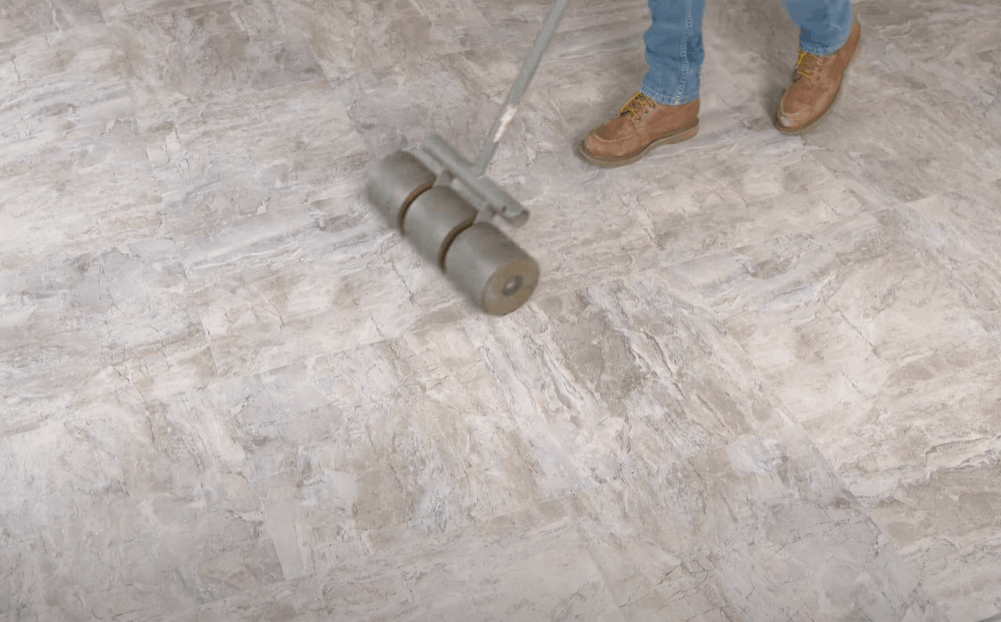
After laying the first few tiles, use a floor roller to press downwardly the flooring to bind information technology to the adhesive and subfloor. Apply gentle just steady pressure level every bit you push button the roller over the tiles.
It is good to accept a tiling sponge on hand to wipe excessive adhesive that may seep in through the narrow spacing between the tiles.
Step 7: Continue going to cover the unabridged floor with tiles
Later you are washed with the first department, move on to the next one. Apply the vinyl, lay the tiles, and push a flooring roller to get the tiles to bind with the adhesive and subfloor. Echo this process until the unabridged floor is covered with vinyl tiles. One time you lot fill the floor, you might need to cut some tiles to fit effectually the room's perimeter.
Step eight: Permit the floor to dry
Give the floor ample time to dry. Depending on your adhesive, the floor might demand a couple of hours to dry. During this time, you should completely keep off the floor.
Once the flooring has dried, reinstall the baseboard and shoe trim. If you were installing the vinyl tiles in a moisture-prone area such as the bathroom, recall to apply silicone caulk effectually the walls to prevent moisture leaks that tin impairment the tiles.
Extended Tips
Hither are additional tips to aid you get the virtually from this project
- Find out the number of vinyl tile cartons you will need to ensure that you have enough tiles when you start the project. Calculate the room's area in meters squared and divide this with the tiles' expanse in square meters. Buy a few extra cartons of tiles to account for possible waste.
- Not all vinyl tiles are 'groutable.' If you want to replicate a ceramic or porcelain look, ask for groutable tiles. Vinyl also comes in dissimilar colors, patterns, and thicknesses, and then use these variations to select tiles that suit your mode and needs.
- When kneeling on tiles that you lot accept just laid, it is a adept idea to place a piece of timber betwixt your knee and the floor to proceed the tiles from sliding out of place.
- At least 48 hours earlier yous begin the projection, transfer the tiles to the room you will be working on to let the tiles to acclimatize.
- Before you get started, mix tiles from different cartons. This ensures that the tiles are a varied pattern throughout the floor.
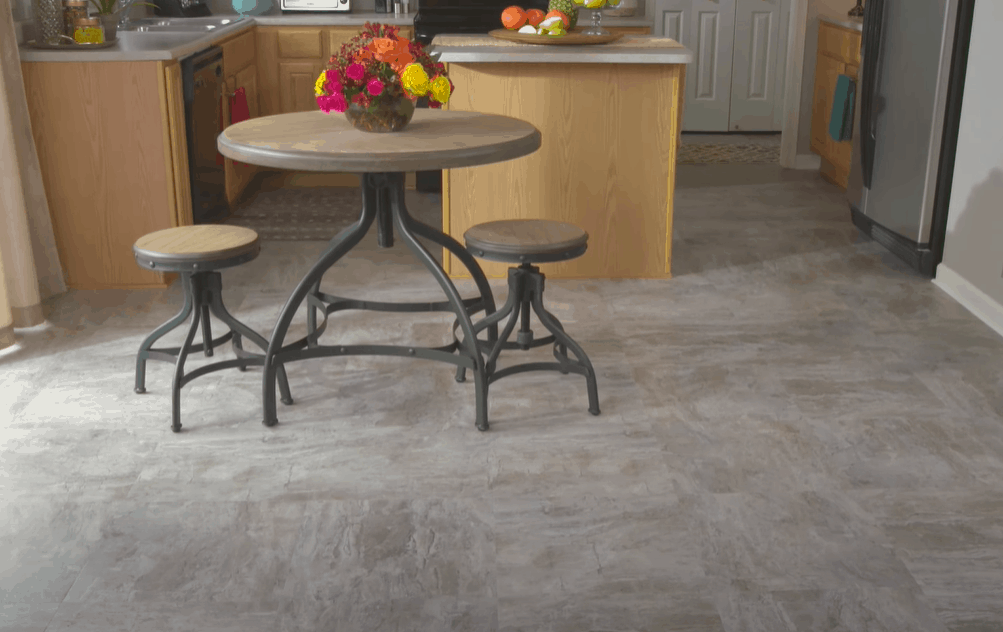
Transform any room for cheap with vinyl tile flooring
Deciding to install vinyl tile floor is smart for your pocketbook and your domicile's artful appeal. If you want a softer and gentler floor, vinyl tiles are an excellent culling to porcelain and tiles. Equally yous tin encounter, you do not need to be a pro to install this type of floor. Using our guide, yous will be well on your way to having a swanky new floor in just a few hours.

Source: https://www.whatisvinyl.com/vinyl-tile-flooring-installation/
Posted by: bakerfisir1971.blogspot.com
0 Response to "How To Install Vinyl Tile Flooring In A Bathroom"
Post a Comment